Showing posts with label pictures. Show all posts

Monday, 19 April 2010

And today´s the day when teddy bears have their picnic! :)

Well, it was a few days ago actually. I got some silicone muffin moulds - I've been wanting some for ages now, a muffin tin really, but when I saw these, it was even better - and made some simple muffins with this recipe. I did replace on cup of flour with porridge oats. :)

And then we went into the garden to have a little picnic with Teddy.


Emily, cup-a-teas (as she calls them), muffins and squash. :)


Hooray! The muffin moulds have different colours! :)


kerli,
sincerely

Thursday, 3 December 2009

Tutorial: how to make paper snowflakes!

Hello again and sorry I haven't posted for such a long time. I am sure you have all missed me immensely. :D


I entertained the thought of selling these snowflakes, but somehow I have ended up in the tangled web of computer games and abandoned my shop a little. But since it is December, finally, and Christmassy things are justified, I am going to show you how to make them. It's the way I was taught from pvery early age and I have used snowflakes as Christmas decorations ever since, one way or the other.

You will need:
Scissors - best are the longer and sharper kind, and remember to be very careful, and not to use the tips. If you have your kids making snowflakes, choose ones that are medium sized with round tips that open and close easily. It will make a difference. There won't be as many snowflakes cut in half. :D I use big Fiskars ones.
Paper - Now here's the good time to go through your paper recycling bag and find the white printer paper that is only a bit used, like printer calibrations etc. I have used old bank statements, junk mail that has printing only on one side, receipts from internet shops. (Also, I used blue tones from regular magazines etc to make Xmas cards last year.) The best kind of paper is still white printer paper, it is stiff and hard enough and relatively cheap.

The size you need your paper to be is quarter of A4. It will leave your snowflakes about 10cm in diameter. If your snowflake makers are kids, especially not very experienced ones, I would use half an A4 for practice. These bigger snowflakes can go on windows later and they will look very nice. :)

Now to make the template (and be prepared to make about hundred of them for yourself and your children, because the folding can be tricky for little hands, but cutting is sooo much fun! I used to pester my mother to fold more and more and more snowflake bases for me). :)

Take your pre-cut paper and lay it on the table. (I usually do everything up in the air, but table may be easier to start with).


Fold it in half (shorter sides together) and turn 180 degrees so that open ends are at the bottom.


Fold the left top corner over to the right corner and press down make a little fold for the middle. NB! Do not fold the entire length.


Now for the tricky bit: Judging by eye, fold the right corner down by a third. It helps a bit if you place your left thumb on the little fold you just made. (In your mind, note down a point about 5mm to the right of the bottom left corner and line the top right corner up with that point, it should be about accurate.) Don't worry if you don't get it immediately. Practice makes perfect! :) Turn over.


Now fold down the other corner (right one again), lining the corner up with the fold you just made.


Fold the whole thing in half and turn 180 degrees. That is what your snowflake template should look like. Can you see the the lines in the middle? This is where you have to cut off the top, and your snowflake template is ready!


Your snowflake should look like this. Discard the top and you are ready for the fun bit!

You can cut any design you like into your snowflake, but over the years I have found that triangles work the best - they are easy to cut, just straight lines crossing, and the result looks realistic. Edit: I also don't draw anything onto my snowflakes, I just "go with the flow", but you might want to try and draw something on for guidelines: see the photo with all my designs this year below.


I normally start with the top to give my snowflake nice pointy ends. Of course, you can cut just little lines to give it a fringe-y edge or not cut the edge at all.

The very clever bit which results sometimes in spectacular snowflakes is here: after you have cut out a triange, you can cut another triangle into the side of the one you just made!


You can also cut off the bottom tip, to make a cute little star in the middle of your snowflake.


Another double triangle...


And if we open it up... it will look like this. Maybe not the best I have made, but definitely allright.


If you wish, you can use these designs. They will end up looking like this:


Though they aren't in the right order or anything. The best bit of making a snowflake is the opening up bit! You'll never know what they're going to be like, and sometimes relatively simple-looking design can make a surprising result! :)

Happy snowfall!

Kerli,
sincerely

P.S. I tie some thread onto my snowflakes and stick them in the ceiling with some masking tape. ;) Looks great!

Saturday, 15 August 2009

Little update

Sorry for being so quiet latey... I have been busy. With real life and handicrafts, I want to make 2 tutorials, and I have been editing photos today for three hours and listening to Woodstock film. It seems that when I get to this making mode, I can't get out, I somply get more and more ideas and I want to finish them, rather than come to the computer to upload them into my shops.

A little sneak peek: (I have some that aren't photographed yet, and some that are in progress, but should be ready soon.)

Little pencil tube


Triangular pencil case - I am quite proud of it (compared to the first one I made :D)


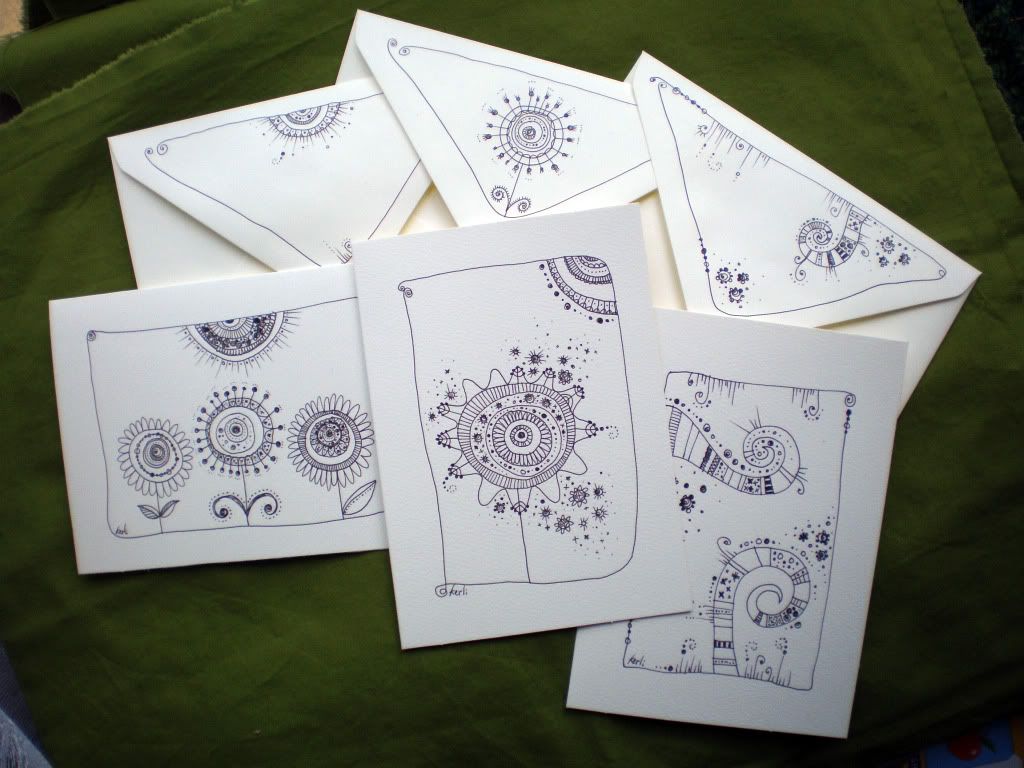
A few little envelope envelopes - they are all packed and wait for uploading into folksy and etsy. :)


All for now! Take care!
Kerli,
sincerely

Monday, 27 July 2009

Recycled Jewels

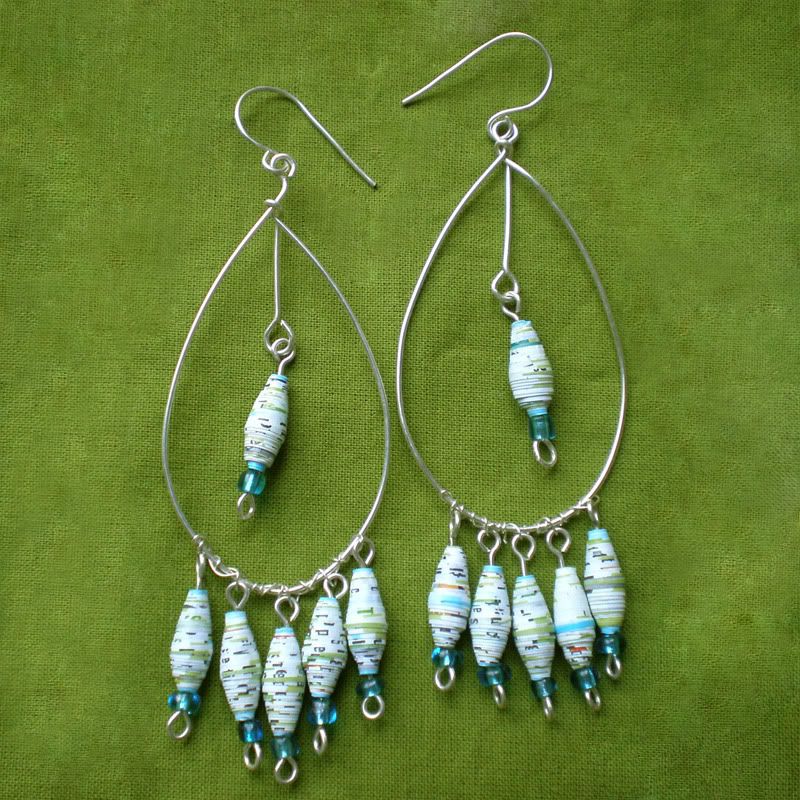
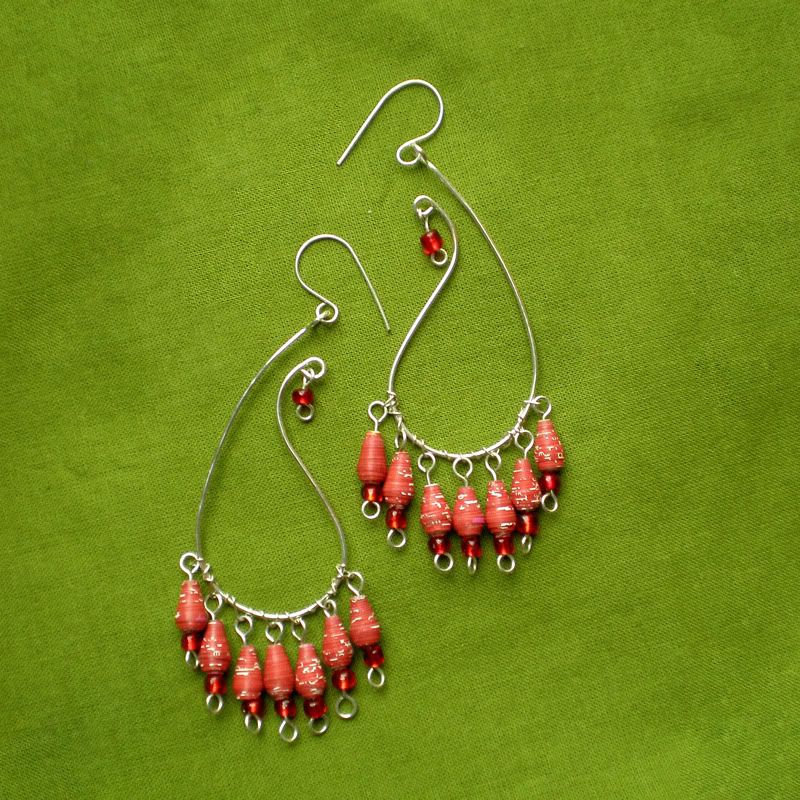
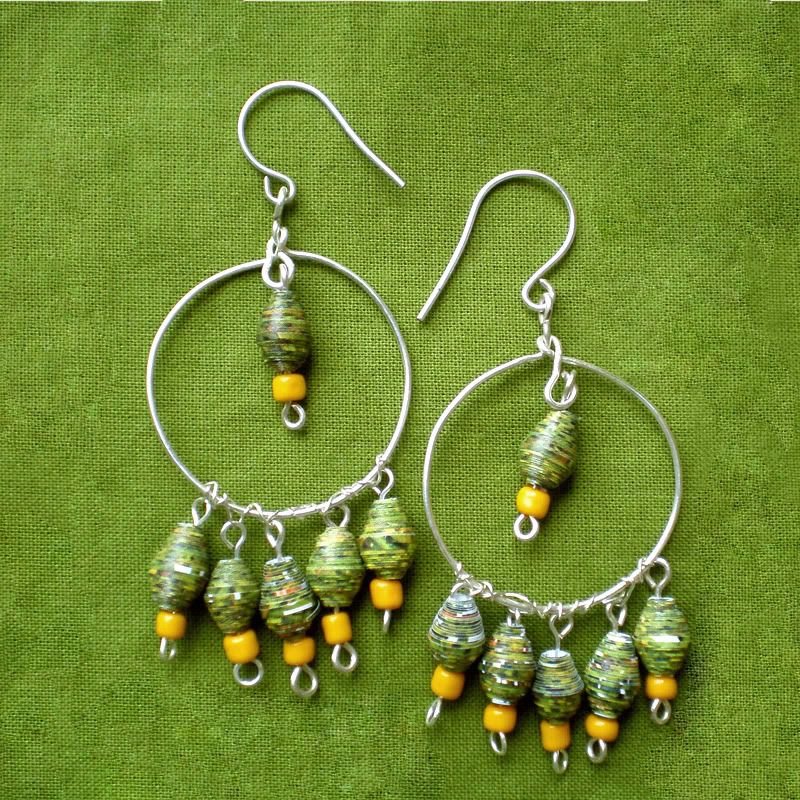
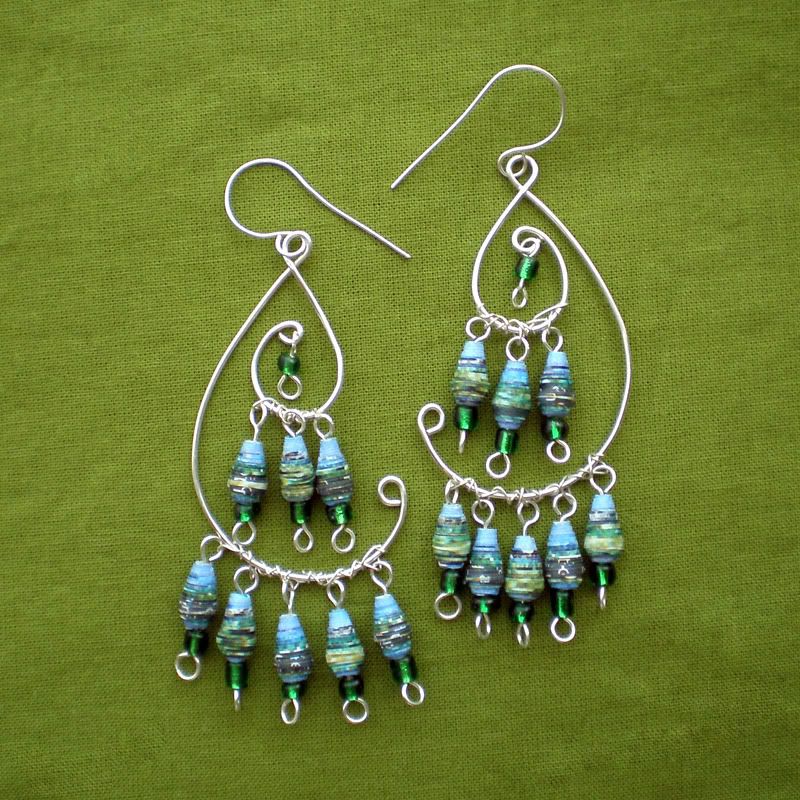
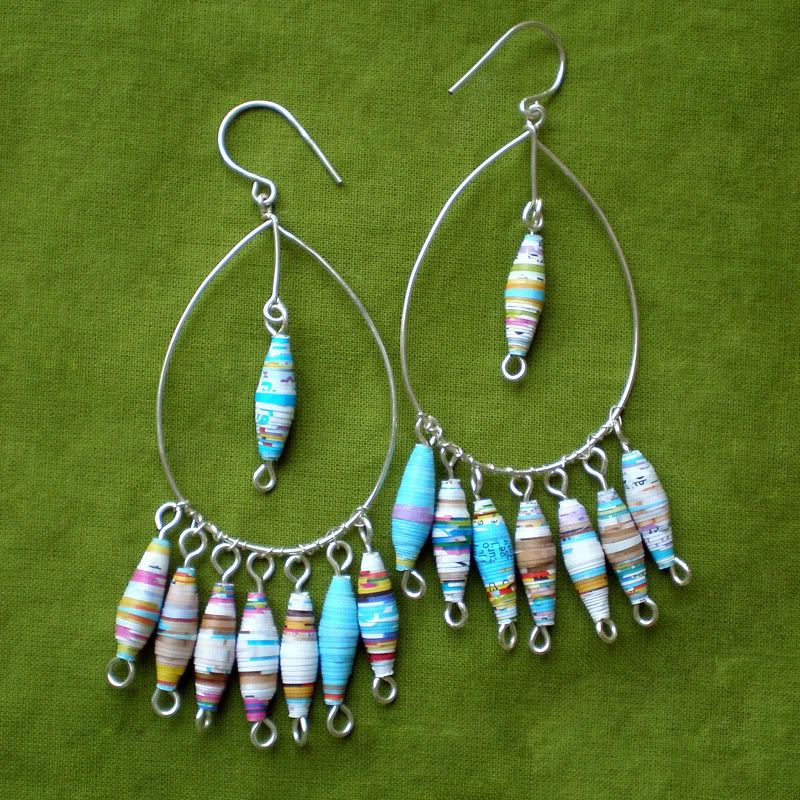
They do go to my shop as well, after I post this. I really think I'm onto something here... :) And they will be cheap, because it is only junk mail, thinnish silver-coated wire and little rocaille beads. I have named them after the papers I made the beads of, some phrase or title on them.

Sun Drops


Reduce, Reuse, Recycle


Pretty Paisley


New Grass


Mediterranean Meditation


Day On The Beach


Kerli,
sincerely

Thursday, 16 July 2009

About Life, The Universe And A Blog Giveaway

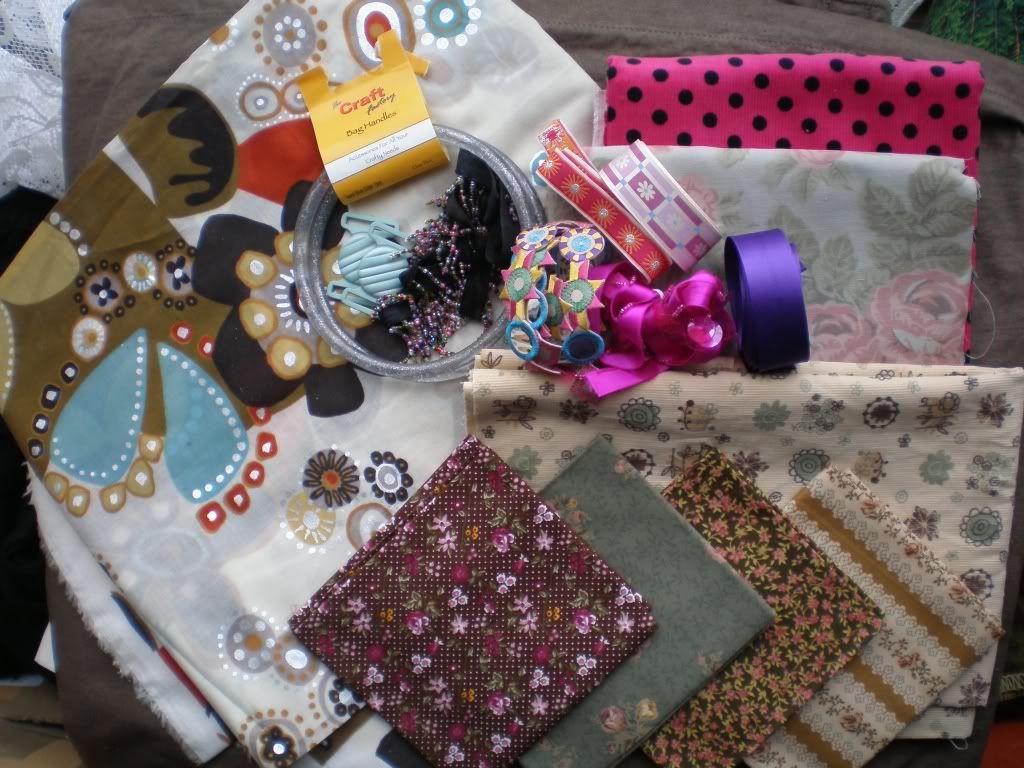
After a few days I actually have some time to post again. Well, I have to write about the parcel I received in the destash swap.


It is very cute! All the browns and greens are exactly my taste and I would gladly marry the corduroy! :D And cute ribbons... I don't even want to use them! :) I've never had a pair of handbag handles before, but they have definitely given me a few ideas now. Thanks, DinkyDaisy! :)

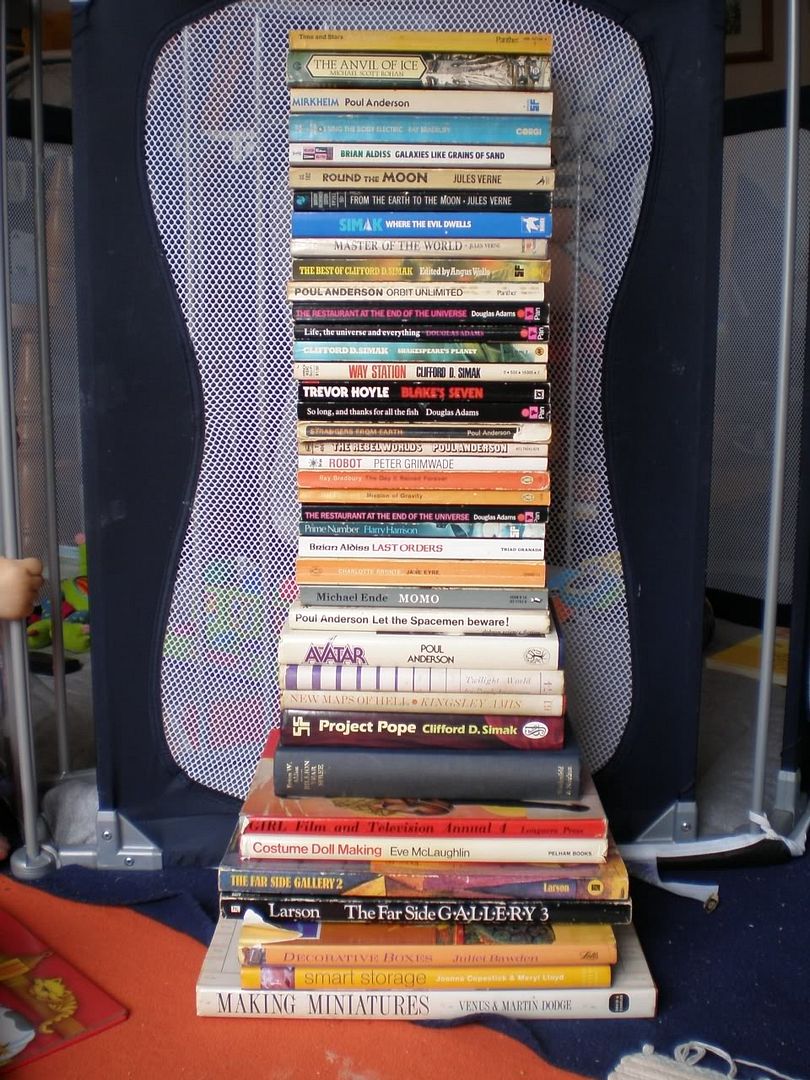
We went to Bookbarn on Monday and got loads and loads of books! We spent there 5 hours, I think! Emily had fun as well, crawling around between the shelves like in a big maze! Oh how many exclamation marks there are now! :O Here are all the books we found and took with us to give them a new home:


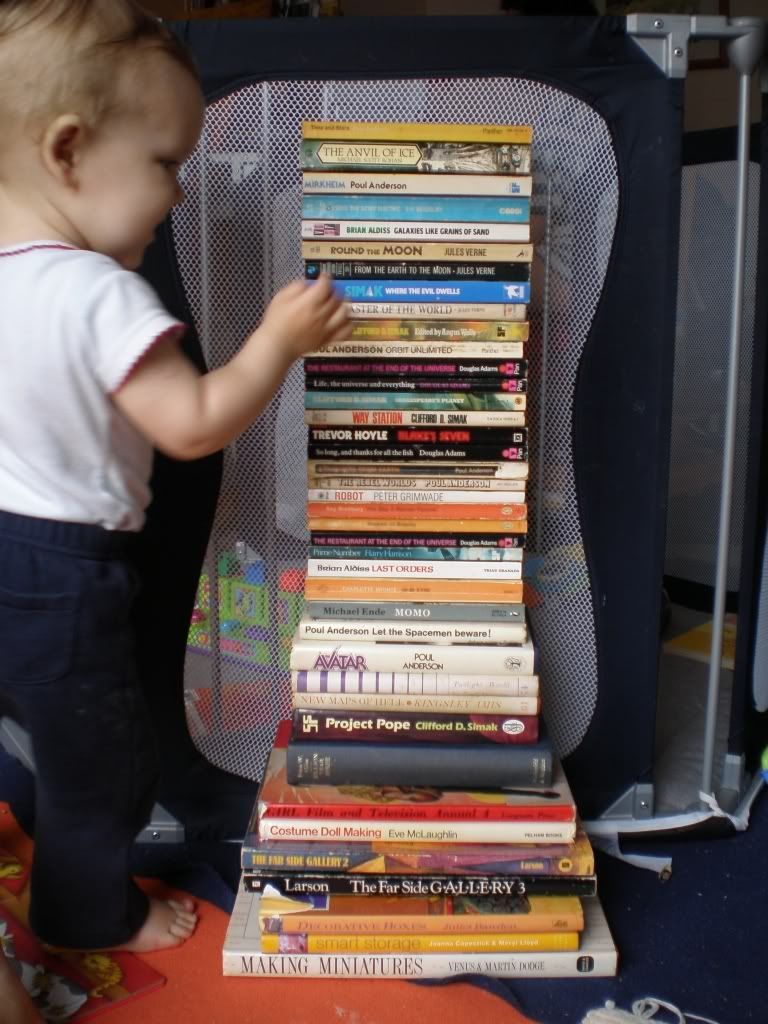
And as you can see from this picture, the pile is almost as tall as Emily is! :P


Yes, you can tell we love science fiction. All the Clifford D. Simak books were picked by me, but I quite like Poul Anderson, so I'll be nicking them off hubby! ;) I recommend Far Side to everyone, and the book about boxes is just too cute.

And now to the giveaway: Guess how much the pile of books cost, comment and you can win these three beauties:

I will soon have them in my shop too, or at least some that are very similar, since they are handdrawn.

You have time until 19.07 23.59. :)

Kerli,
sincerely

Monday, 6 July 2009

How To Post A Parcel My-style And Pink Things

*watch Diagnosis Murder and Doctors after Emily has gone to sleep at 1.30*notice the time suddenly, get up and start packing and changing 2.20*shut down computer*go upstairs and have a wee* put clothes on*discover that you haven't added last bits to the parcel and it is not taped shut*tape the parcel shut*discover that you need the address*turn computer on again*put baby sling on*check the watch*it's 2.35*write the address down*check all bits are in the bag*and money*try to put the parcel into the bag, fail, because it's too tiny*shut down telly*miss Diagnosis Murder, because it's been bloody Wimbledon for whole two weeks*run upstairs*take Emily straight from bed and tuck her into the sling*put a little hat on her*put the parcel in the Lidl bag awkwardly*run outside as well as you can*walk quickly to the bus stop*wait for a few minutes*get the money out and get on the bus*sit down and relax*

Yes, well. Finally I managed to post the parcel. And I went to drop-in clinic, because Emily has not been eating well since she was 6m old. She just didn't want to. :P And I was too scared and depressed to press on. But. Now. Thanks to me kicking my fat arse finally properly and the discovery of baby porridges she had gained a whole half a kilo since the last time (about three weeks ago). Hooray! She now weighs 8,54 kg. :)


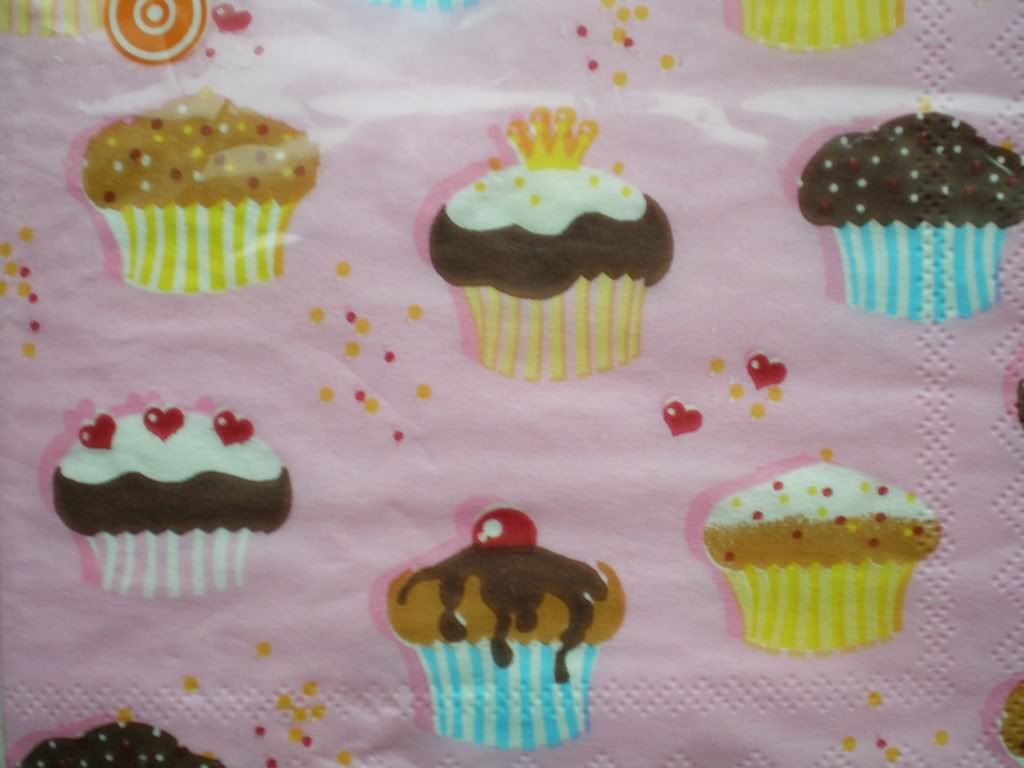
And something so cute can be discovered in Tesco: :)


I have no idea what I am going to do with them, but I won't be using them as simple napkins. At least not all of them. :D Note the little teeth marks in the corners, by Emily.

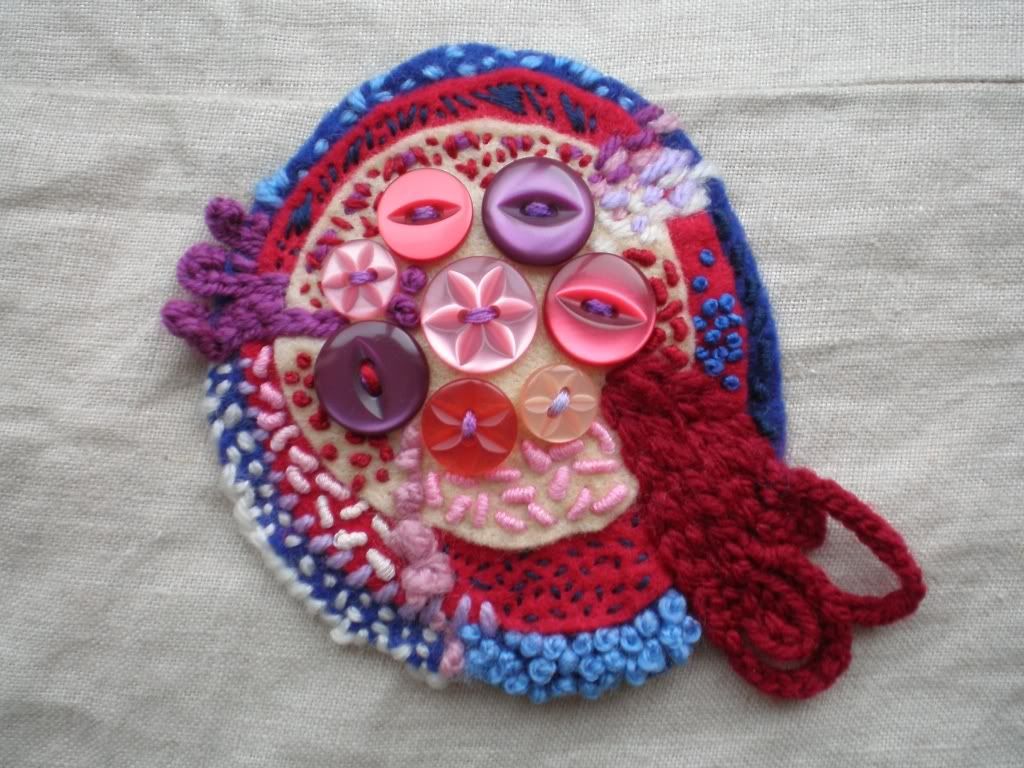
Also featuring the thingie I was embroidering when I watched the telly: :) Latest in the series of Zygon Jewellery. :P


AND we have next generation of artists growing in our house (notice the very sophistically and strategically placed piece of cucumber):


Kerli,
sincerely

P.S. The quality of photo editing in blogger drives me mad. It's absolutely rubbish. At the moment it even didn't resize the photos after I put the dot in section "small". Oh my dear LJ...

P.P.S. I got an email from ebay to sign their petition... Boo! :D

P.P.P.S. Can you click on the photos to see bigger versions? I seem to be able to do so, but only in my own blog... Hmmm...

Friday, 26 June 2009

Halliste apron


Right... Someone wanted to know what is Halliste embroidery. Here it is then - an apron for a married woman's celebratory costume.

More here:
Arhaic Estonian embroidery set

Kerli,
sincerely

Thursday, 25 June 2009

Cat in the Hat (and nappy cover)

Here we are then: I didn't take all her clothes off though. :P
Pay no attention to the rubbish... *hides*


And profile: :)


The tail is stuffed and the cover itself attaches with velcro.

One more for good measure:


I'll try to post the pattern for the hat in a few days...

Kerli,
sincerely